
Are you looking to upgrade your bathroom without a costly renovation Framing your bathroom mirror with clips is a simple and effective DIY project that can instantly elevate the room’s style. In this guide, we’ll walk you through how to frame a bathroom mirror with clips, transforming a basic mirror into a stunning focal point. Whether you’re aiming for a modern appearance or something extra rustic, you’ll learn step-through-step techniques and important hints to get the activity executed right. Get prepared to add a hint of sophistication to your area with this low-cost and pleasant home improvement task.
Understanding The Types Of Mirror Clips
Mirror clips are small but essential components, holding mirrors in place without compromising their aesthetic appeal. These clips come in various styles, every designed for a specific reason and aesthetic choice. Some are sleek and nearly invisible, presenting a minimalist appearance, at the same time as others are ornamental, adding a touch of elegance. The two most common types are fixed clips and spring-loaded clips. Fixed clips hold the glass firmly in place, making them an ideal choice for heavy glass. Spring-loaded clips, on the other hand, offer flexibility, allowing the glass to be removed easily for maintenance or replacement. Choosing the proper type of clip is essential for a seamless frame setup.
Benefits Of Framing A Bathroom Mirror
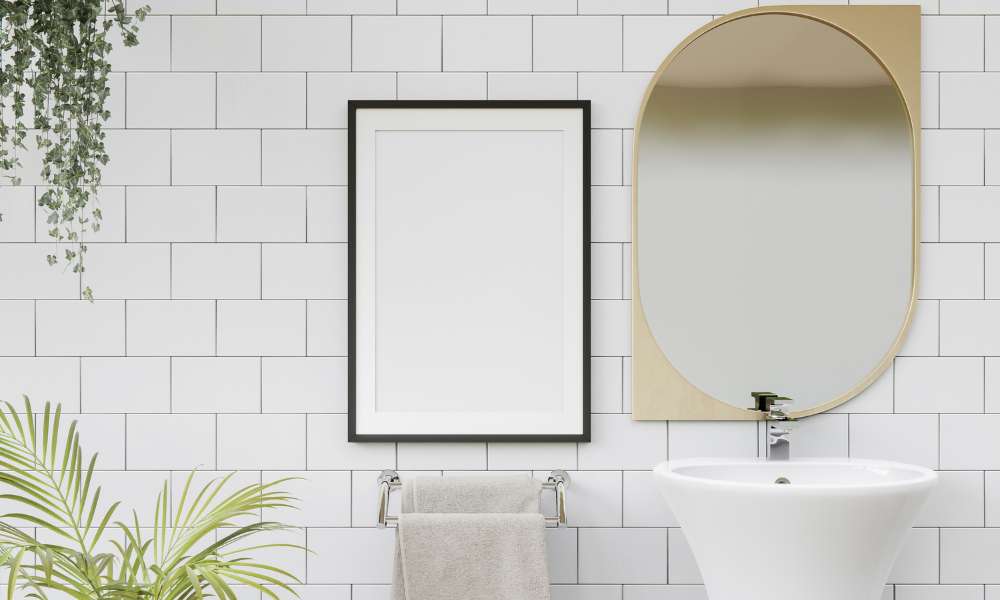
Frame A Bathroom Mirror With Clips replication can transform the space, adding man or woman and style whilst raising the overall appearance. It offers numerous functional benefits too. A framed glass helps defend the rims from harm, which is mainly useful in humid environments like bathrooms. The body also hides any imperfections around the mirror’s edges, making an older glass look brand new. Moreover, including a body can tie together the restroom decor, complementing the entirety from the tile paintings to the vanity. Finally, framed glass gives a focus, drawing the eye and growing an inviting, cohesive layout.
Choosing The Right Frame Style For Your Mirror
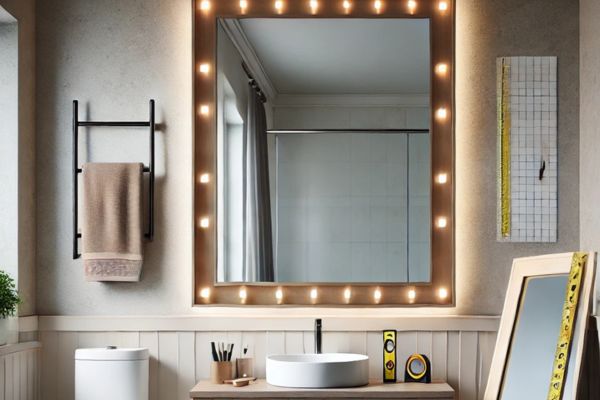
Selecting a frame style is where your creativity can truly shine. You can opt for classic wooden frames for a rustic, warm look, or go for metallic finishes if you prefer a modern, industrial vibe. Frameless mirrors can be body with sleek, streamlined moldings that blend into contemporary spaces, while ornate, baroque-style body work well in traditional bathrooms. When choosing a body, consider the existing decor and color scheme. Aim to either complement or contrast harmoniously with other fixtures and accessories in your bathroom.
Tools And Materials You’ll Need
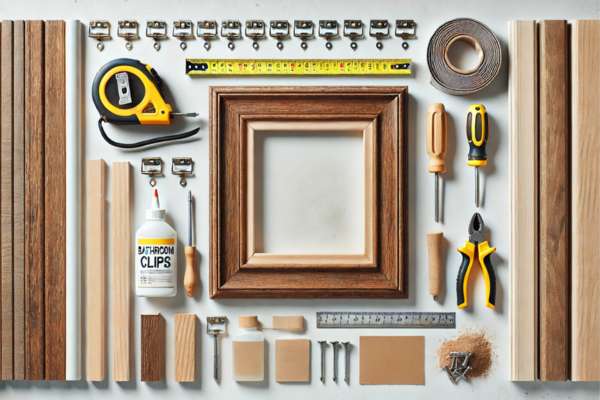
Before you begin, gather the essential tools and materials. Here’s a checklist:
- Measuring tape
- Pencil
- Miter saw
- Sandpaper
- Paint or wood stain
- Paintbrush or foam roller
- Mirror clips
- Adhesive (specifically designed for mirrors)
- Caulking gun
Safety goggles Having these on hand will streamline the process, allowing you to complete the project efficiently and achieve professional results.
Materials Needed For Framing A Bathroom Mirror with Clips
For a sturdy, aesthetically pleasing frame, choose high-quality materials. Depending on your preference, body molding can be wood, metal, or even composite materials designed to mimic these finishes. Select a weather-resistant adhesive to withstand bathroom humidity, and be sure to use mirror clips that can handle the weight and size of your glass. Don’t forget finishing materials like paint, stain, or varnish to enhance the frame’s look and durability.
Preparing The Mirror For Framing
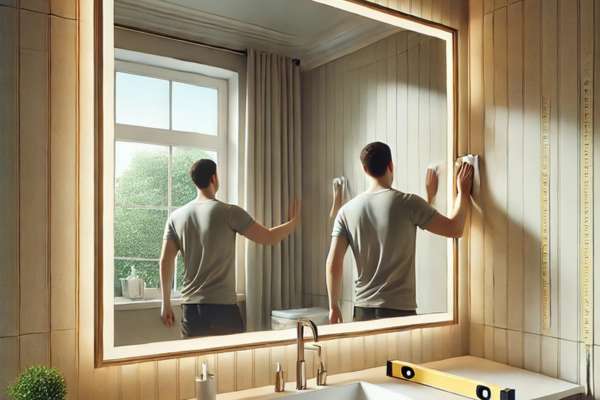
Preparation is key to a smooth installation process. Start by thoroughly cleaning the glass and surrounding wall area to ensure that no dust or residue interferes with the adhesive or the clips. Measure the mirror’s dimensions accurately, including the clip positions, as this will dictate how you cut the frame pieces. Mark where each side of the frame will go, ensuring that your measurements are precise to avoid gaps or misalignment.
Cutting The Frame Molding
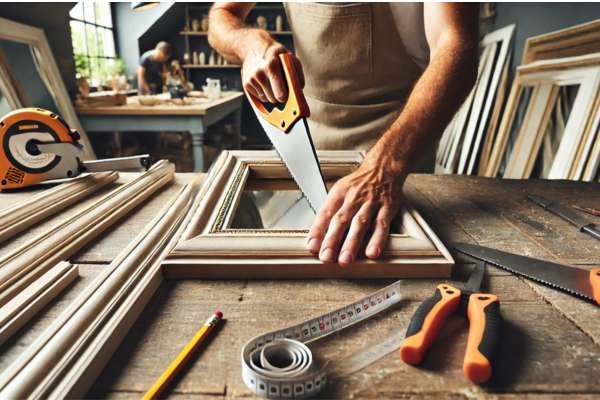
Measure and mark the molding carefully before cutting. Using a miter saw, cut the frame pieces at a 45-degree angle to create clean, seamless corners. Take your time with this step; a precise cut will make all the difference in the final appearance of the body. Sand down the edges to ensure a smooth, flush fit when the body pieces come together.
Painting Or Staining The Frame
Before assembling the frame, it’s time to customize it with paint or stain. Lay the body pieces out on a drop cloth or newspaper. Apply your chosen finish evenly using a paintbrush or foam roller, and allow ample drying time between coats. For a long-lasting finish, consider using a clear protective sealant once the paint or stain is completely dry. This step will protect the body from moisture and wear, especially in a bathroom setting.
Attaching The Clips To The Mirror
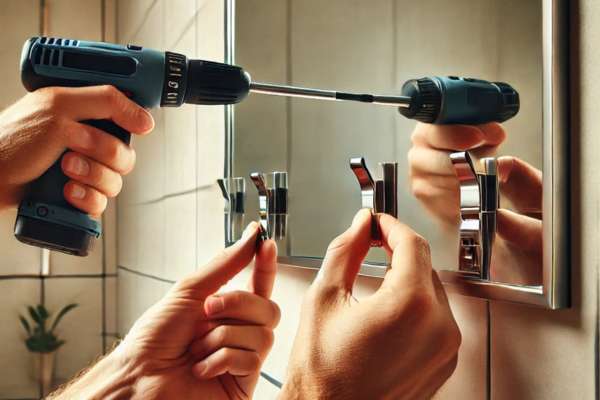
Position the clips evenly around the mirror, ensuring they are securely fastened. Fixed clips can be screwed directly into the wall, while spring-loaded clips need to be positioned and adjusted carefully. These clips will hold both the glass and the frame in place, so double-check their positioning and ensure they are tightly secured.
Dry Fitting The Frame On The Mirror
Once the clips are in place, it’s time to do a dry fit. Hold each piece of the frame up to the mirror to ensure it aligns correctly. This step allows you to make any necessary adjustments before committing with adhesive. It’s also a good opportunity to see how the body will look once installed, giving you a chance to make final adjustments.
Applying Adhesive To The Frame
Apply a generous amount of adhesive to the back of each frame piece, focusing on areas that will make direct contact with the mirror and wall. Use a caulking gun to control the adhesive application, ensuring even coverage. Be cautious not to apply too much, as excess adhesive can seep out and create a mess.
Securing The Frame To The Mirror
Press each frame piece firmly onto the mirror, starting with the top piece and working your way around. Hold each piece in place for a few moments to allow the adhesive to set. Once all pieces are in place, use painter’s tape to secure them temporarily while the adhesive dries. This will ensure that the body doesn’t shift or sag.
Reinforcing The Frame For Extra Durability

For additional stability, consider reinforcing the frame with small finishing nails or brackets at each corner. This step is optional but highly recommended, especially for larger mirrors. Reinforcing the body will help it withstand daily wear and the bathroom’s humidity, extending its lifespan.
Cleaning Up and Final Touches
Once the adhesive has dried, remove any painter’s tape and clean the mirror and body. Wipe down the frame with a damp cloth to remove any smudges or fingerprints from the installation process. If there are any visible gaps or seams, you can use a small amount of caulk to fill them, giving the body a seamless look.
Maintaining Your Framed Bathroom Mirror
To keep your framed mirror looking fresh, avoid using harsh chemicals during cleaning. Opt for a soft, damp cloth and a mild cleaner to wipe down the body regularly. Ensure the Frame A Bathroom Mirror With Clips is well-ventilated to minimize moisture exposure, which can damage the body over time. Regular maintenance will ensure your framed glass remains a beautiful focal point in your bathroom.
Alternative Ways To Frame a Bathroom Mirror with Clips
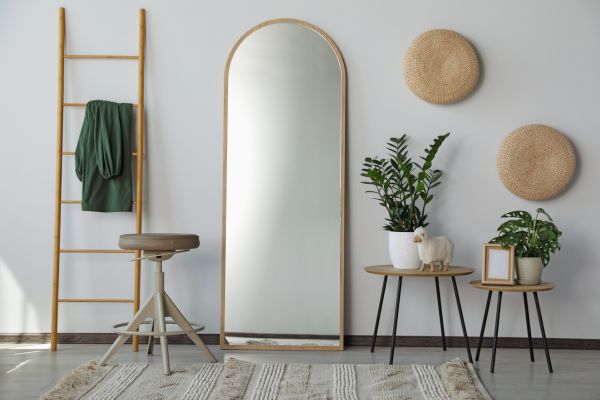
If traditional framing isn’t your style, there are other creative methods to consider. You could use peel-and-stick tiles to create a unique border around the mirror, or even body it with reclaimed wood for a rustic touch. Another option is to use adhesive decorative trim for a more minimalist, streamlined effect. These alternatives offer versatility and allow you to customize the glass to suit your style.
Frequently Asked Questions About Framing Bathroom Mirrors
Can I frame a mirror without removing it from the wall?
Ans: Yes, framing a mirror in place is possible, especially when using mirror clips, as long as the clips allow for enough space.
What type of adhesive should I use for bathroom mirrors?
Ans: Use a mirror adhesive designed specifically for wet areas, ensuring it can hold up in humid conditions.
Do I need special tools to cut the frame molding?
Ans; A miter saw is ideal for cutting molding, as it allows for precise 45-degree cuts.
Can I use any wood for the frame?
Ans: For bathroom use, choose moisture-resistant wood like cedar or treated pine.
Conclusion
Framing a restroom mirror is a rewarding DIY venture that complements your toilet’s aesthetic and functionality. From deciding on the proper body fashion to securing it in the area with long-lasting clips, the process permits you to feature a private touch in your area. With the right tools, materials, and attention to detail, you’ll transform a basic glass into a stunning, framed focal point that brings elegance and character to your bathroom.